Want to install a wood stove in your living room but not sure where to start? Let me walk you through it – no fancy jargon, just practical steps to get it done right.

Quick Reference Table: Wood Stove Installation Basics
| Factor | Requirement | Why It Matters |
|---|---|---|
| Floor Support | Min. 750-1000 lbs | Prevents structural damage |
| Clearance from Walls | 18-36 inches | Fire safety |
| Hearth Pad Size | 18″ front/8″ sides | Protects flooring |
| Chimney Height | Min. 15 feet | Creates proper draft |
| Room Size | 400+ sq ft | Prevents overheating |
First Things First: Before You Buy That Stove
Look, I get it – you’re ready to start enjoying that cozy heat. But skip these prep steps, and you’ll end up with a expensive paperweight instead of a working stove.
Size Matters – Really
Pick the wrong size stove, and you’ll either be sweating or shivering. Here’s what to measure:
- Your room’s square footage
- Ceiling height
- Number of windows
- Insulation quality
“The most common mistake I see is people buying stoves that are too powerful for their space. A oversized stove is just as bad as an undersized one.” – Tom Wilson, Master Stove Fitter
Getting Legal
Before you move a muscle:
- Get your building permits sorted
- Check local fire codes
- Schedule an inspector
- Contact your insurance company
The Nitty-Gritty: Installation Steps

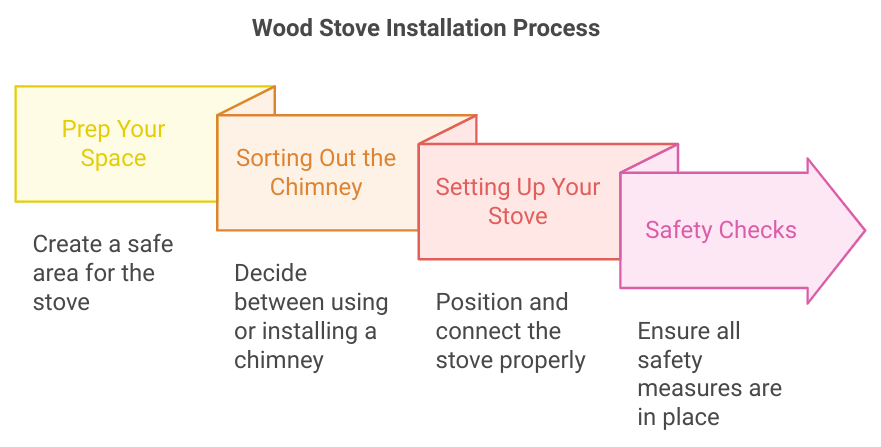
1. Prep Your Space
First up, you need to create a safe spot for your stove:
- Clear the area
- Install a proper hearth pad
- Check floor support
- Remove any flammable items
2. Sorting Out the Chimney
You’ve got two options:
- Using an existing chimney: Get it inspected and lined
- Installing a new one: Put in a prefab system
Pro tip: Don’t cheap out on chimney parts. One leak can turn your cozy evening into a 999 call.
3. The Main Event: Setting Up Your Stove
Here’s the step-by-step:
- Position the stove on your hearth pad
- Level it properly (use shims if needed)
- Connect the stove pipe sections
- Seal all joints
- Link to your chimney system
4. Safety Checks
Double-check these before lighting up:
- All clearances meet requirements
- Joints are properly sealed
- Floor protection extends far enough
- Carbon monoxide detector is working
Common Problems (And How to Fix Them)
Smoke Issues
If smoke’s backing up into your room:
- Check your chimney height
- Look for blockages
- Ensure proper draft
- Verify pipe connections
Draft Problems
Poor draft? Try these fixes:
- Extend chimney height
- Insulate exterior chimney
- Check for air leaks
- Prime the flue before lighting
Maintaining Your New Stove
Keep your stove running like a champ:
- Clean the chimney yearly
- Check seals monthly
- Empty ash regularly
- Test smoke alarms weekly
FAQs About Wood Stove Installation
Q: Can I install a wood stove myself?
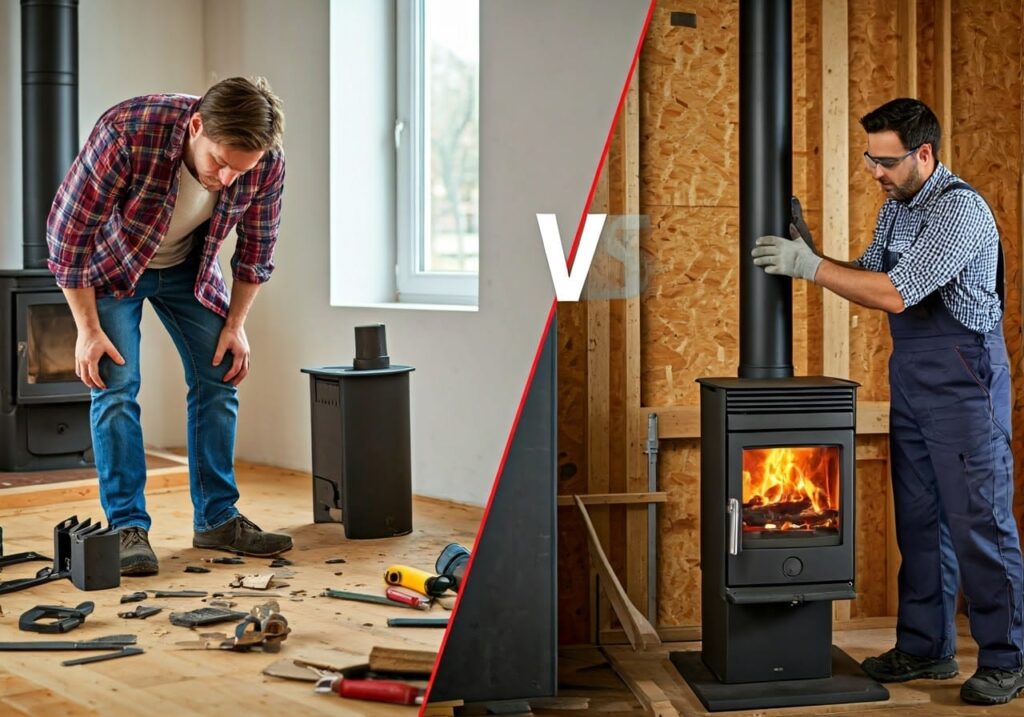
A: While possible, it’s risky. Most building codes require professional installation for insurance and safety.
Q: How much clearance do I need around my stove?
A: Typically 18-36 inches from combustible walls, but check your stove’s specific requirements.
Q: What type of floor protection do I need?
A: A non-combustible hearth pad extending at least 18 inches in front and 8 inches on sides.
Q: Will a wood stove save me money?
A: Yes, if you have access to affordable wood and install it correctly.
Q: How often should I clean my chimney?
A: At least once per year, or after every cord of wood burned.
Bottom Line
Installing a wood stove in your living room isn’t rocket science, but it needs proper planning and attention to detail. Get it right, and you’ll have a reliable heat source that’ll last decades. Get it wrong, and best case – it won’t work properly. Worst case? Let’s not go there.
Remember: measure twice, install once, and always prioritize safety over speed. The perfect wood stove installation is the one that keeps your home warm and your family safe.


