Thinking about installing a wood-burning stove in your home? It’s a solid choice. These stoves aren’t just efficient, but they also bring a cozy vibe to any space.

But, getting it right is crucial. Whether you’re new to the world of wood stoves or simply looking to upgrade your heating system, this guide will walk you through the installation and setup process step by step. From choosing the right stove to making sure it meets safety standards, we’ve got you covered.
Why Install a Wood-Burning Stove?
A wood-burning stove can transform your home’s heating system, lowering costs and creating an inviting atmosphere. Compared to other heating methods, these stoves are:
- Efficient: They use less fuel than open fireplaces, giving you more heat output per log.
- Eco-friendly: Burning wood releases fewer pollutants than fossil fuels, especially if you choose certified wood stoves.
- Stylish: Whether traditional or modern, there are wood-burning stoves that match any home design.
But before you jump into installation, there are some critical things to keep in mind.
1. Choosing the Right Stove for Your Space
Not all wood-burning stoves are created equal. The key is picking one that’s sized correctly for your home.
Factors to consider:
- Room size: Too small of a stove, and it won’t heat your space effectively. Too large, and you’ll waste wood.
- Heat output: Measured in kilowatts (kW). Most manufacturers recommend around 5kW for small rooms and up to 12kW for larger spaces.
- Efficiency: Look for models with at least 70% efficiency, which means more heat and less fuel used.
- Fuel options: Some stoves can burn both wood and smokeless fuel. Check what works best for your local restrictions and what’s most cost-effective.
Remember, an airtight stove provides much more control over the burn and helps maintain a steady temperature.
2. Complying with Safety Regulations
Safety is non-negotiable when installing a wood-burning stove. Depending on your location, you’ll need to follow building regulations to ensure everything is safe and efficient.
Key regulations to consider:
- HETAS certification: In the UK, HETAS-registered installers are required by law to ensure wood-burning stove installations meet safety standards. This applies to the stove and the flue system.
- Distance from combustibles: Stoves should be placed a safe distance from any combustible materials, such as walls, floors, or furniture.
- Chimneys and flues: Your home needs a suitable vent, chimney or flue. Many older chimneys need a liner for safe operation.
- Carbon monoxide detector: In some regions, it’s mandatory to have a detector installed alongside your stove to prevent dangerous gas leaks.
Here’s a more detailed breakdown of safety precautions and standards you should follow:
- Ventilation: Proper ventilation is critical for your safety and stove performance. Ensure there’s an adequate air supply in the room where the stove is located. Without enough oxygen, the stove won’t burn efficiently, and incomplete combustion could lead to carbon monoxide buildup. This is why having a carbon monoxide alarm near the stove is required in many places.
- Clearances: You need to maintain minimum clearance distances from walls and ceilings as outlined in the manufacturer’s manual. For many wood-burning stoves, this distance can range from 30 to 50 cm, but always check specific requirements for your model.
- Hearth requirements: Make sure your stove sits on a non-combustible hearth. Depending on the size and type of stove, your hearth must be large enough to catch any stray embers or sparks. It’s recommended that the hearth extends at least 225 mm in front of the stove door and 150 mm on each side.
- Flue systems: If your home lacks a chimney, a twin-wall insulated flue system is essential. Flue liners should always be installed in chimneys to prevent leaks and drafts, ensuring the stove operates at its highest efficiency and that harmful gases are safely vented outside.
The best venting system for a wood-burning stove depends on your home’s layout and the stove’s size and type. Options include:
- Chimney: A traditional chimney is a good choice if your home has an existing masonry chimney.
- Twin-wall insulated chimney: This is a great option for homes without a chimney, as it can be installed through walls or ceilings.
- Direct vent system: This system draws air from outside the home and vents combustion gases directly outdoors, making it ideal for airtight homes.
It’s important to consult with a professional to determine the best venting system for your specific needs. They can assess your home’s layout, the stove’s size and type, and local building codes to recommend the most appropriate system. They can investigate the need for any permits.
3. The Step-by-Step Installation Process
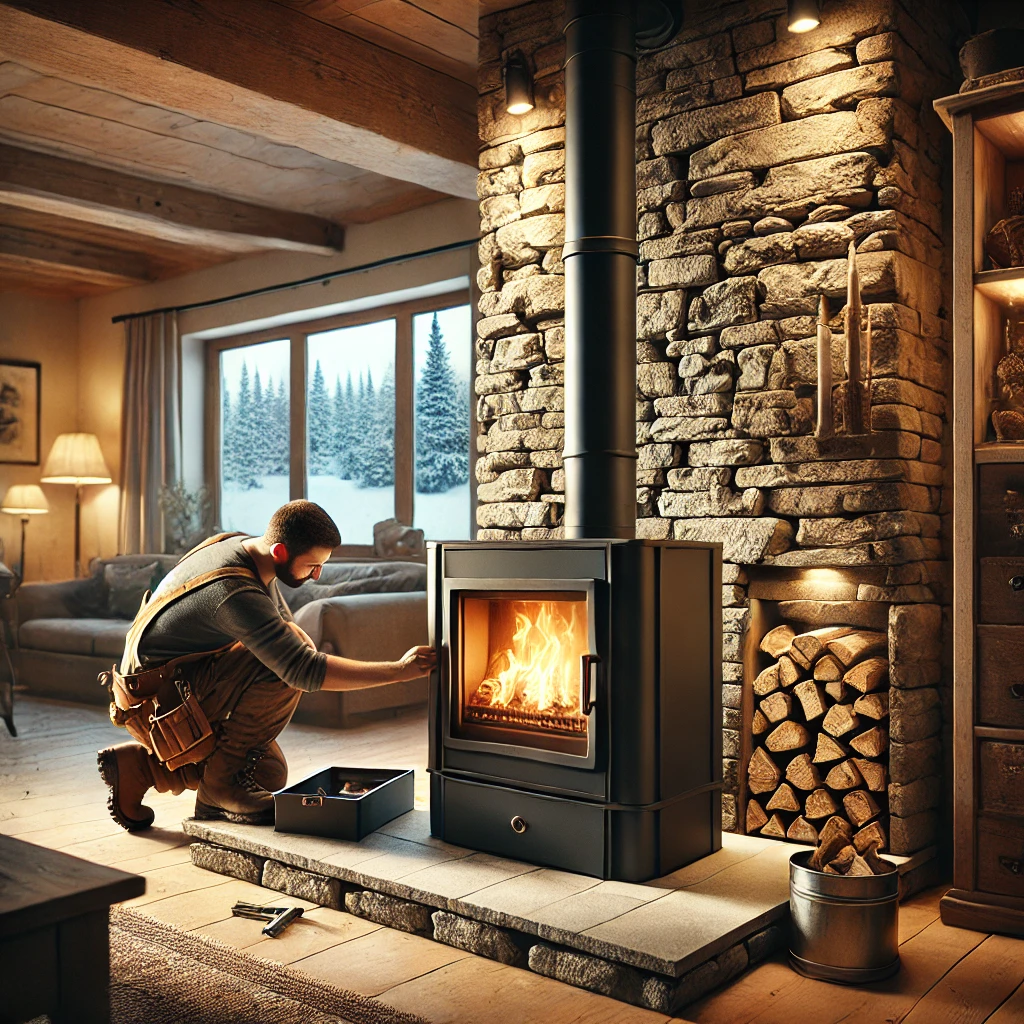
Here’s where things get hands-on. Whether you’re hiring a professional or tackling this as a DIY project, knowing the basics of stove installation is critical.
Using Safety Checker tool below: Ensure your wood stove installation meets critical safety requirements with our interactive checker tool. This step-by-step guide helps verify proper clearances, materials, and equipment specifications. Get instant feedback on potential safety concerns and receive customized recommendations based on your answers.
Wood Stove Installation Safety Checker
Professional vs. DIY Installation
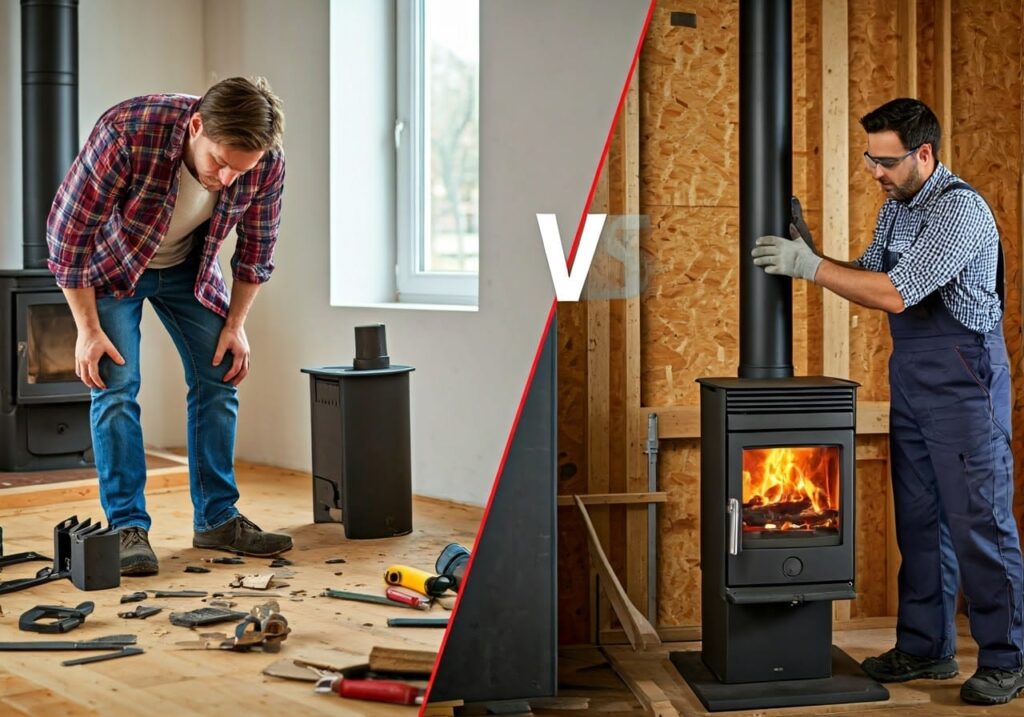
Most people opt to hire a professional installer, especially if their home requires modifications, like chimney relining or flue installation. However, if you’re confident with DIY, you can save money by doing it yourself. That said, installation must comply with local regulations, and a post-installation inspection by a professional may still be necessary. So are you going to risk a DIY installation of a wood burning stove?
Step-by-Step Installation Guide:
1. Prepare the area:
- Start by marking the spot where the stove will sit. Make sure to measure distances from nearby walls and other combustibles, following the clearance guidelines in the stove’s manual.
- Lay the hearth in place. This surface must be non-combustible, typically made of slate, granite, or other fireproof materials.
2. Install the chimney or flue:
- If you have an existing chimney, you’ll need to install a chimney liner. For homes without a chimney, you’ll need to install a twin-wall stovepipe that leads to the exterior.
- Chimney liners can be made from stainless steel or flexible materials, depending on the stove and chimney type. Installing this properly is crucial to avoid leaks and drafts.
3. Connect the stove to the flue:
- Attach the stove pipe to the stove’s outlet and connect it to the flue or chimney system. Ensure every section is securely sealed to prevent any smoke leaks.
- The pipe should run vertically, with minimal bends to ensure smooth airflow and minimize creosote buildup, which could lead to chimney fires.
4. Install ventilation:
- Ventilation is vital. Install an air vent or duct if your stove needs additional airflow to function properly, especially if it’s an airtight model.
5. Seal and test:
- Once everything is connected, inspect all seals and joints for gaps. You don’t want any leaks that could allow smoke to escape into the room.
- Light a small fire to test airflow, draft, and seals. Look for signs of backdrafting, which means smoke is not being properly vented.
4. Ongoing Maintenance and Safety
A wood-burning stove isn’t a “set it and forget it” system. Regular maintenance ensures it remains efficient, safe, and long-lasting. Here’s what you should do to keep your stove in top shape.
Chimney Cleaning and Maintenance
- Annual cleaning is essential. Over time, creosote builds up inside your chimney and flue. Creosote is a highly flammable substance that forms from burning wood, and it’s the leading cause of chimney fires.
- It’s recommended to have your chimney cleaned at least once a year, but if you use the stove heavily, consider cleaning it twice a year.
- During cleaning, inspect the chimney liner for cracks or damage. Even small cracks can allow dangerous gases to leak into your home, posing a serious health risk.
Ash Removal
- Empty the ash pan regularly, but don’t throw all of the ash away. Leaving a thin layer of ash on the base of the stove can actually improve combustion and help keep the fire burning hotter.
- Always dispose of ash safely in a metal container with a lid. Ashes can remain hot for days after a fire, so never throw them into plastic bags or bins directly.
Inspect for Wear and Tear
- Look for signs of wear, such as cracked fire bricks, warped stovepipes, or rust. Fire bricks are designed to handle the extreme heat inside your stove, but over time, they can degrade. Replace any broken or damaged bricks to maintain proper insulation and efficiency.
- Check the stovepipe connections for leaks or corrosion, and replace parts as necessary to avoid smoke leaks or poor ventilation.
Fuel Storage and Usage
- Make sure you’re burning properly seasoned wood. Green wood or freshly cut logs contain a lot of moisture, which leads to inefficient fires and excessive creosote buildup. Wood should be seasoned for at least 6-12 months, with a moisture content below 20%.
- Store wood in a dry, covered area to keep it seasoned and ready to burn. A wood rack or sheltered storage space is ideal to prevent moisture absorption from the ground or rain.
Routine Inspection of Seals and Gaskets
- Over time, the door seals and gaskets on your wood stove can wear out, causing air leaks that make the stove less efficient. Inspect these regularly and replace if you notice any damage or gaps.
Safety First
- Always keep a fire extinguisher nearby and ensure that your smoke alarms and carbon monoxide detectors are functioning correctly.
Pro tip: If you notice excessive smoke inside your home, or if the fire doesn’t seem to burn as hot as it should, it could be a sign of improper airflow or a blockage in your chimney. Get this checked out immediately.
FAQs: Wood-Burning Stove Installation
Q: How long does it take to install a wood-burning stove? A: Most professional installations take between 1 to 3 days, depending on the complexity of the job.
Q: Can I install a wood-burning stove in a house without a chimney? A: Yes, you can. You’ll need to install a stovepipe or flue to safely vent smoke outside.
Q: How often should I clean my chimney? A: At least once a year, or more often if you use your stove heavily.
Final Thoughts
Installing a wood-burning stove is one of the best ways to heat your home efficiently while adding a touch of rustic charm. But the process involves more than just buying the stove—you need to think about compliance, ventilation, and long-term maintenance.
Get it right, and you’ll have a reliable, cost-effective heating solution for years to come.


